Our Blog
Nov 18, 2019
by Greta
Tips for making the best mozzarella
The satisfaction that comes from stretching out your own homemade, fresh mozzarella is hard to beat. Hot curd morphing into a delightfully smooth and shiny ball. There are some important factors when making mozzarella that can help significantly with your success, and we want to share them with you!
The satisfaction that comes from stretching out your own homemade, fresh mozzarella is hard to beat. Hot curd morphing into a delightfully smooth and shiny ball. There are some important factors when making mozzarella that can help significantly with your success, and we want to share them with you!
Tip 1: Use full fat, unhomogenised milk
Full fat, unhomogenised milk is the first step. If you try and use homogenised milk you won’t be able to create a good strong curd structure as the proteins have been altered during the milk processing. And don’t forget the fat, it needs to be full fat as this helps with the very important stretching and melting factors.
The milk composition will change depending on the type of milk you are using and your milk supply. Cow and buffalo milk have a higher protein concentration than sheep and goats’ milk. This means they’re better at holding their structure and can hold onto moisture, therefore producing a more stretchy, melty mozzarella. The mineral content of your milk will also have an impact on the structure, this is why Mad Millie Kits have the addition of calcium chloride, to try and ensure success!
Tip 2: Use milk that is as fresh as possible
The pH or acidity of your milk is one of the biggest game changers with mozzarella and this can be influenced by the age of the milk. Milk is very slightly acidic (pH 6.7 – 6.9) due to the naturally occurring lactic acid. Over time the lactose sugar in the milk is converted to lactic acid and the acidity gradually increases, this is why your milk will go sour if left past its use by date.
For mozzarella to stretch well it needs a pH of approximately 5.2. Following the Mad Millie recipe, the accurate addition of citric acid will increase the acidity of your milk and give you the right pH. However, if you are using old milk that is close to its use by date then it will already be quite acidic, and the addition of citric acid may cause it to curdle. The best way to avoid this is to use the freshest milk you can find!
If you are making bigger batches or using raw milk and want to be really precise, pH strips can be used to measure the exact pH. You can adjust the pH using small amounts of lemon juice or white vinegar and a pipette.
Tip 3: Heat is key for getting the perfect stretch
The heating can seem like the easiest piece but may be the difference between success or not! The temperature of the curds before stretching should be 70-77°C (158-170°F). Make sure the temperature of the water in your pot is at this temperature if not slightly higher before submerging your curd. We highly recommend using a wooden spoon and some gloves as this is HOT and we don’t want you burning your hands. The best technique is to put a piece of curd the size of your palm onto a draining spoon and lower it into the hot water, just let it sit there. When the curd is heated correctly it will look like it’s melting. At this point leave it a little bit longer as you are just seeing the outside melting and the heat needs to reach right into the middle of your curd.
Tip 4: Don’t overstretch
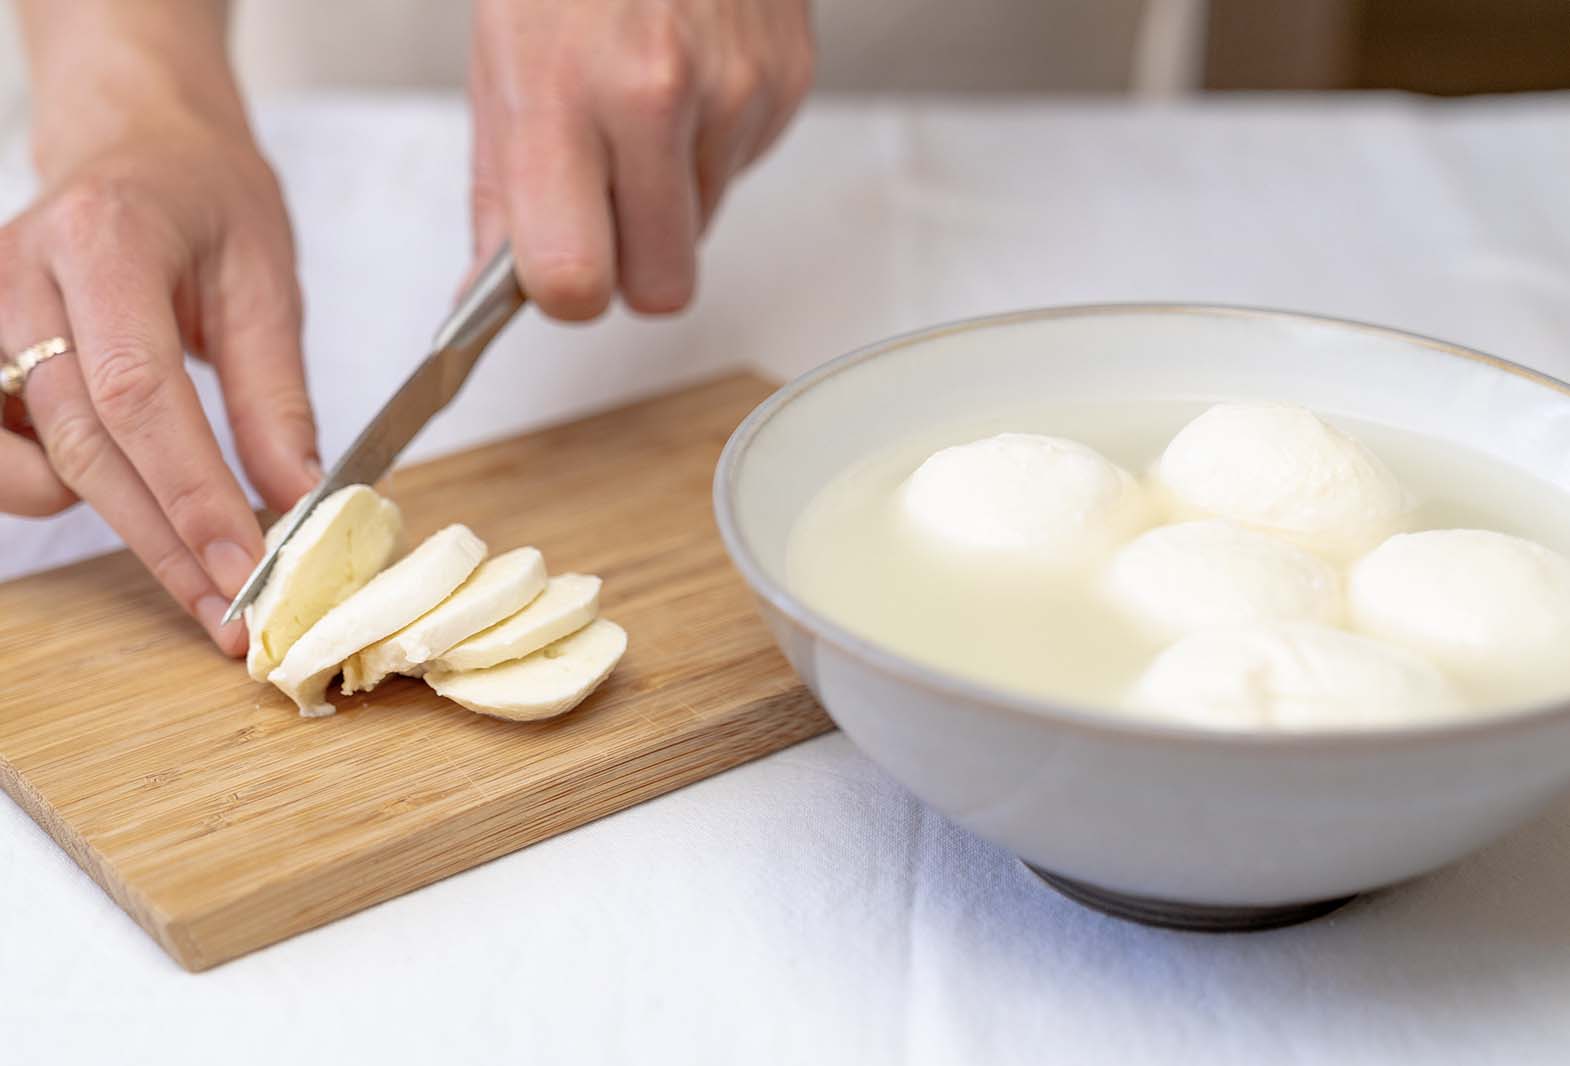
Once your curd is melting gently pick it up and let it stretch back down towards the heated water of its own accord. Fold the curd over onto itself and repeat the self-stretching until the texture becomes smooth and shiny. If it’s having trouble stretching don’t be scared to put it back into the hot water to heat up some more. After four or five stretches you should be seeing a shiny mozzarella curd, at which point shape it gently into a ball. Be careful not to overstretch it as this will break the structure of the curd, releasing more whey and give you hard rubber-like mozzarella balls. If you’re not getting a smooth texture, it’s probably because your curd isn’t hot enough. Put it back into the water to heat up and once it’s melting pick up the stretching where you left off.
Many cheese makers have had trouble making mozzarella, as with most skills it often takes overcoming failure to really learn the tricks of the trade. Following these tips and watching the Mad Millie video for making mozzarella should get you started on the right track! Any further questions or issues get in touch, we’re here to help and love hearing about your cheese making adventures.